# Slices
Slices are the reusable components that are built within the custom types using predefined elements(fieldss). Slices have scope within the parent custom type but it can be shared with other defined custom types. and yes, each custom type will have its own instance of slice even if it is shared.
WARNING
Make sure that you have filled all the required fields on custom types, before you start working on slices. Refer to custom types
# Create a new slice
- Step 1:
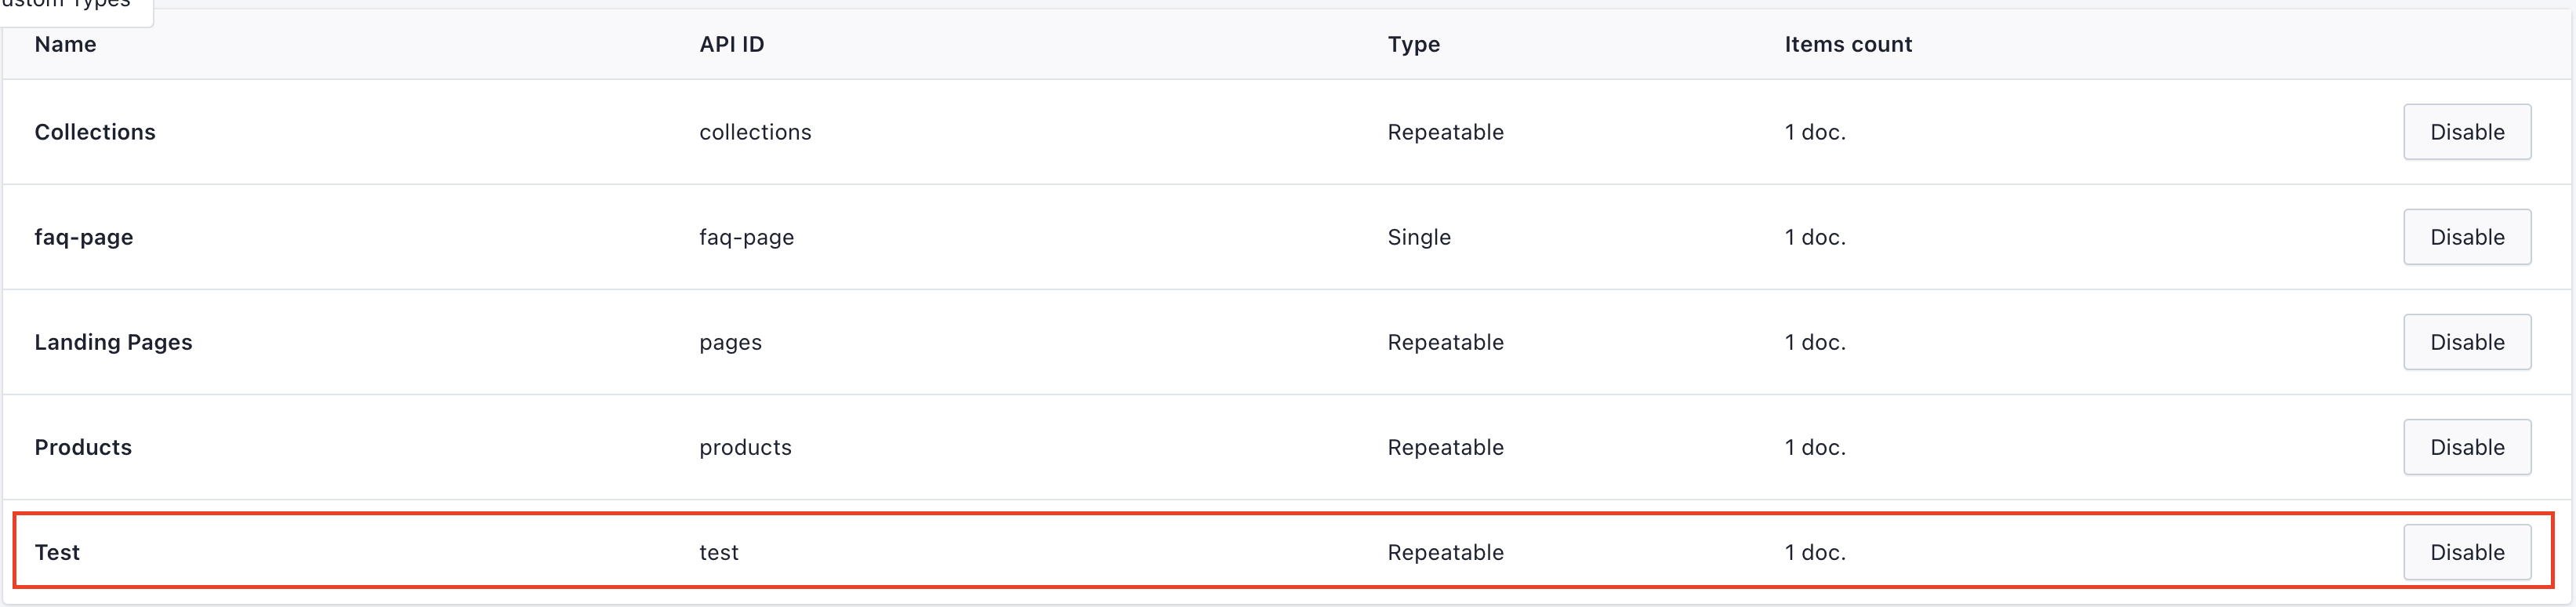
Go to custom types in prismic dashboard and select the custom types in which you want to add the slices
WARNING
Make sure you have slice zone enabled

- Step 2:
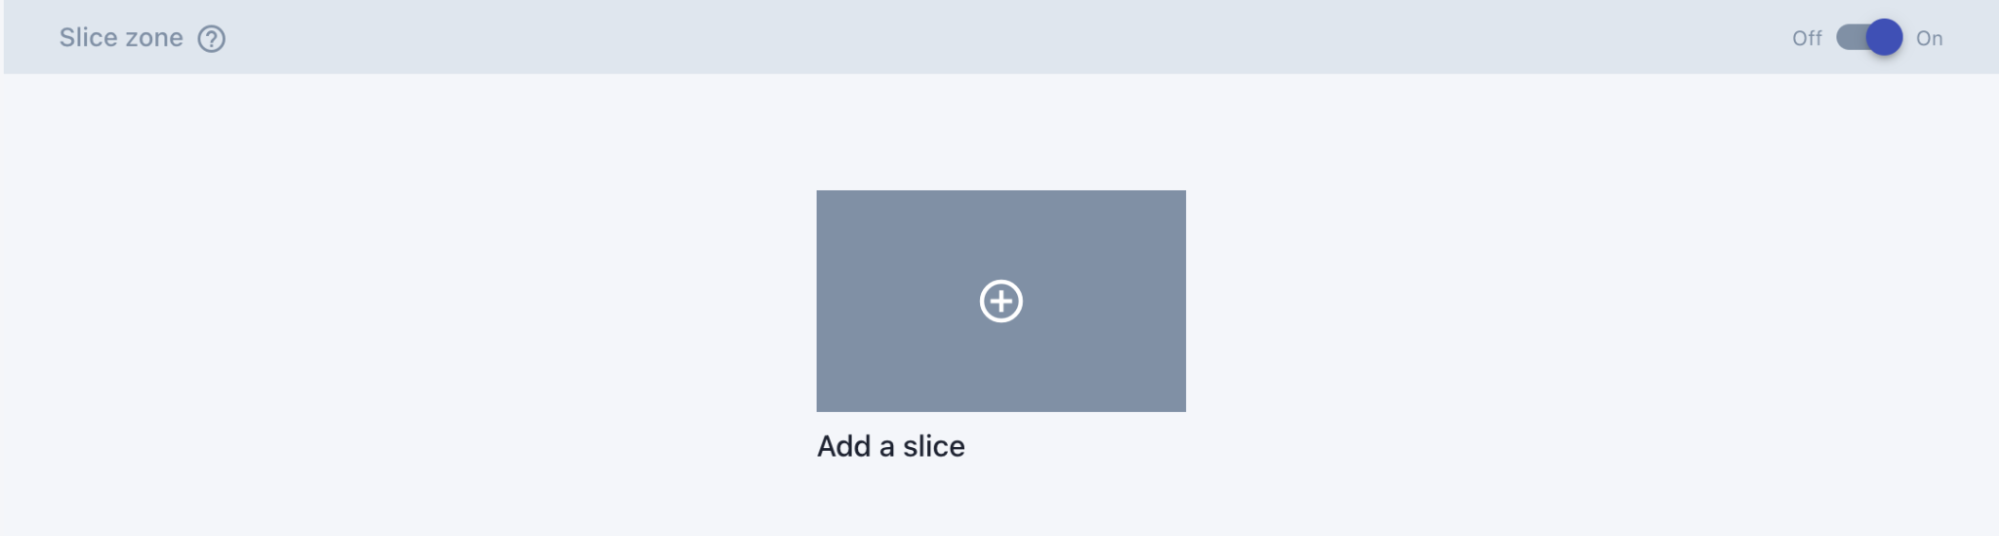
Click on add a slice
- Step 3:
Select +create new slice
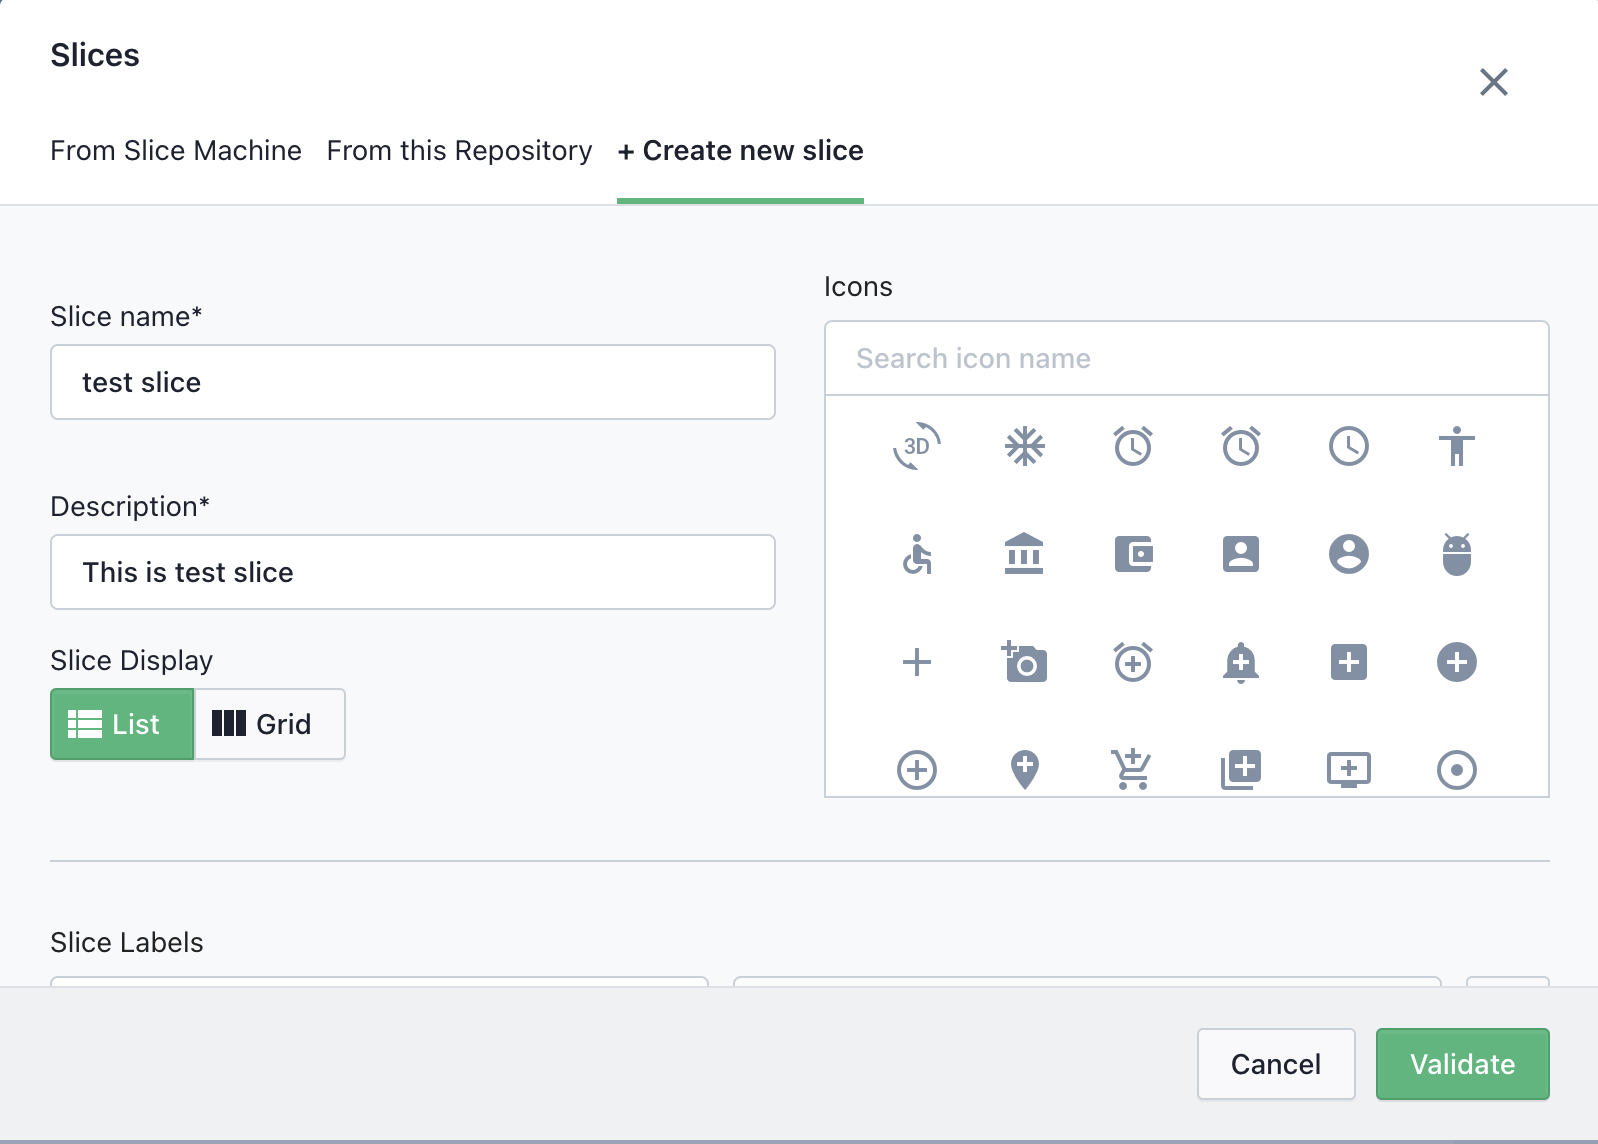
Fill in slice name and description and select appropriate icon
WARNING
Slice key is generated through slice name, and once the key has been generated key can’t be changed by changing the name.So choose slice name wisely.
Slice key is used as metafields namespace and for the snippet name in our codebase as well.
Slice key is just a handelized text of the slice name.eg, “Hero Banner” would be “hero_banner”
- Step 5:
Click on validate
TIP
If it’s successfully created, then you should see something like this.

# Slice Zones
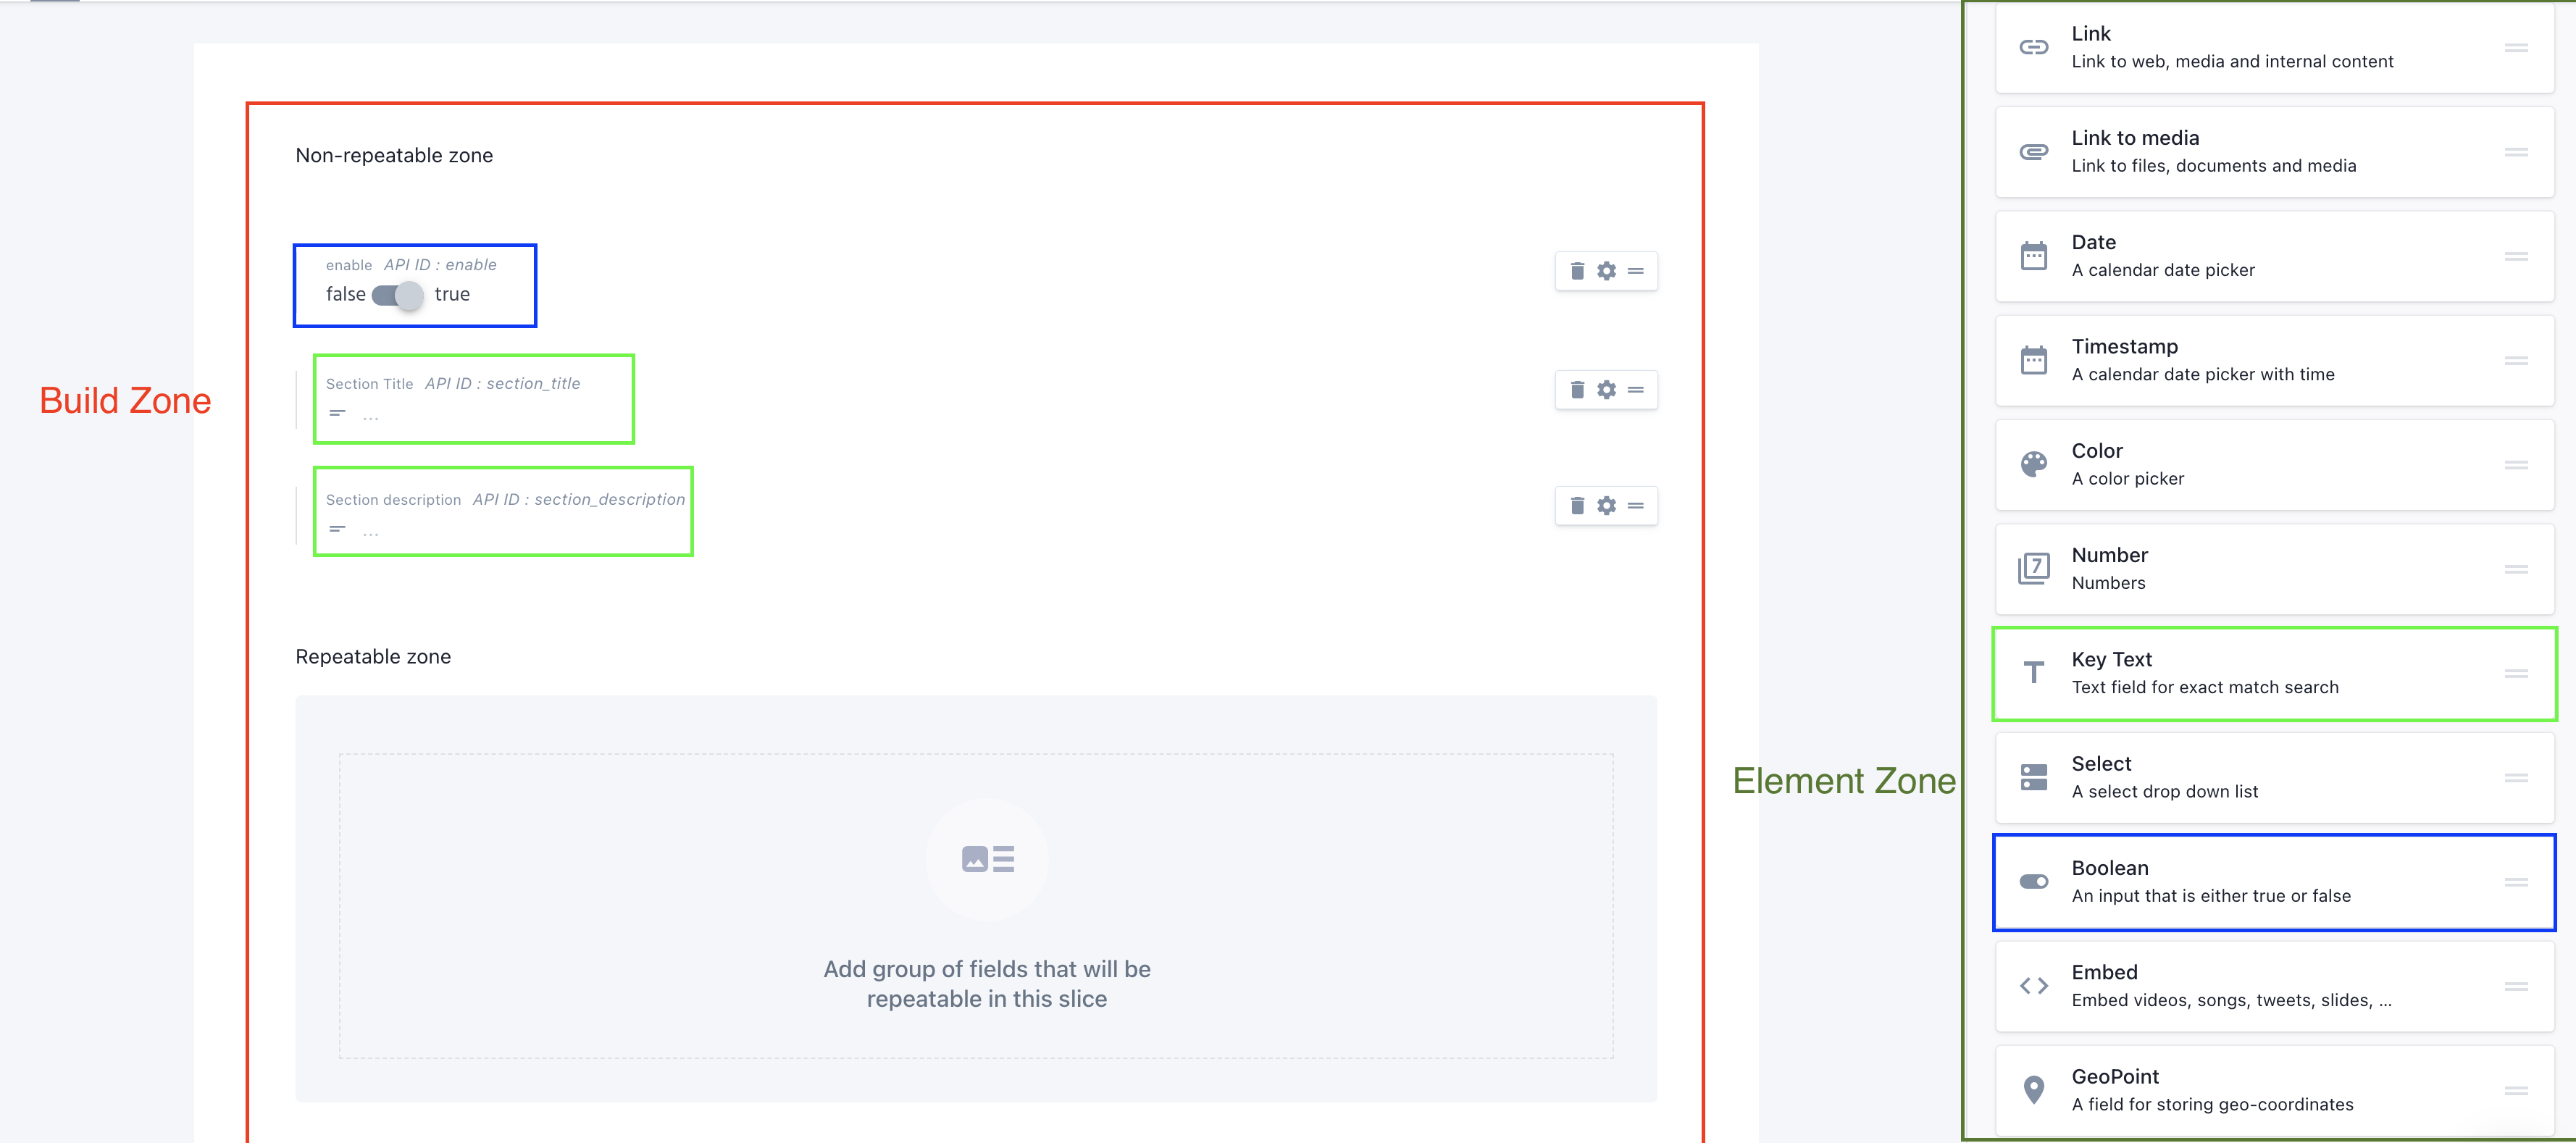
- Understanding the different zones
Once you click on your newly created slice, you should see something like this.
# Build Zone
This is the place where you would define fields for your components. There are two different types of zone:
Non-repeatable zone:
Each element refer to the fields instead of the actual element,
This zone refers to the elements that don’t repeat.
If you are familiar with the shopify backend system,
This zone works similar to the section settings.
Repeatable zone:
This zone refers to the elements that might get repeated or need to repeat based on the requirement, If you are familiar with the shopify backend system, This zone works similar to block settings.
# Element Zone
This zone contains the list of pre-defined or supported fields.
Each type of field defines the type of data it supports.
# Add fields
To add the fields into the component(slices), simply drag a element from the element zone and drop it to the required build zone.
WARNING
There are few values you need to fill up , before it successfully adds to the required zone.
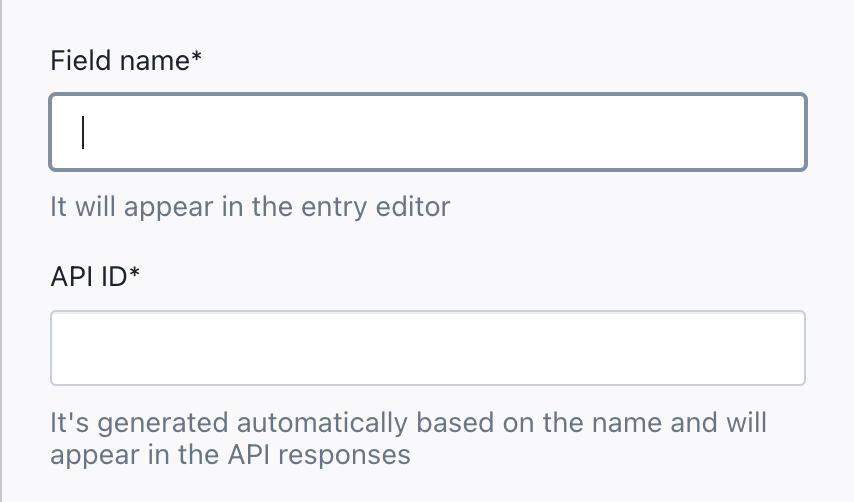
Field name:
It acts as a title for our elements/fields while filling out the actual data in the document. So make sure to name it something that would be self describing.
API ID:
This acts as an unique identifier for our element. API ID is generated based on the field name, but you can change the API ID manually.
Note:
If you have worked with shopify metafields before, To fetch data from a metafield, We would require metafield namespace and metafield key While slice name acts as a namespace in metafields, API ID works as a metafield key to fetch the specific data of the element.
# Add required field
Following are the required fields that needs to be defined on Non Repeatable Zone on each of the slices.
| Element Name | Field Name | API ID* |
|---|---|---|
| Boolean | enable | enable |
TIP
We are checking value of this key to either show/hide the slices. So make sure, that its value is true if you want to render it in UI
Hit the save once you are done with adding up the fields based on the requirement. And you have successfully created a slice.
Lets move on to documents.